

Introduction
Cheers to my fellow comrades in the Cloud Dev Space
My name is Winner Onaolapo :)
Today I would like to share how to SSH to any EC2 Instances using Windows Powershell or Git Bash
Without further ado let’s dive right in
I have been so curious about what other alternative will be available to ssh into my EC2 instance without having to use puTTY
So, today I will be sharing with us how to SSH into our AWSEC2 Instance
The very first step is to create an Instance with a key pair
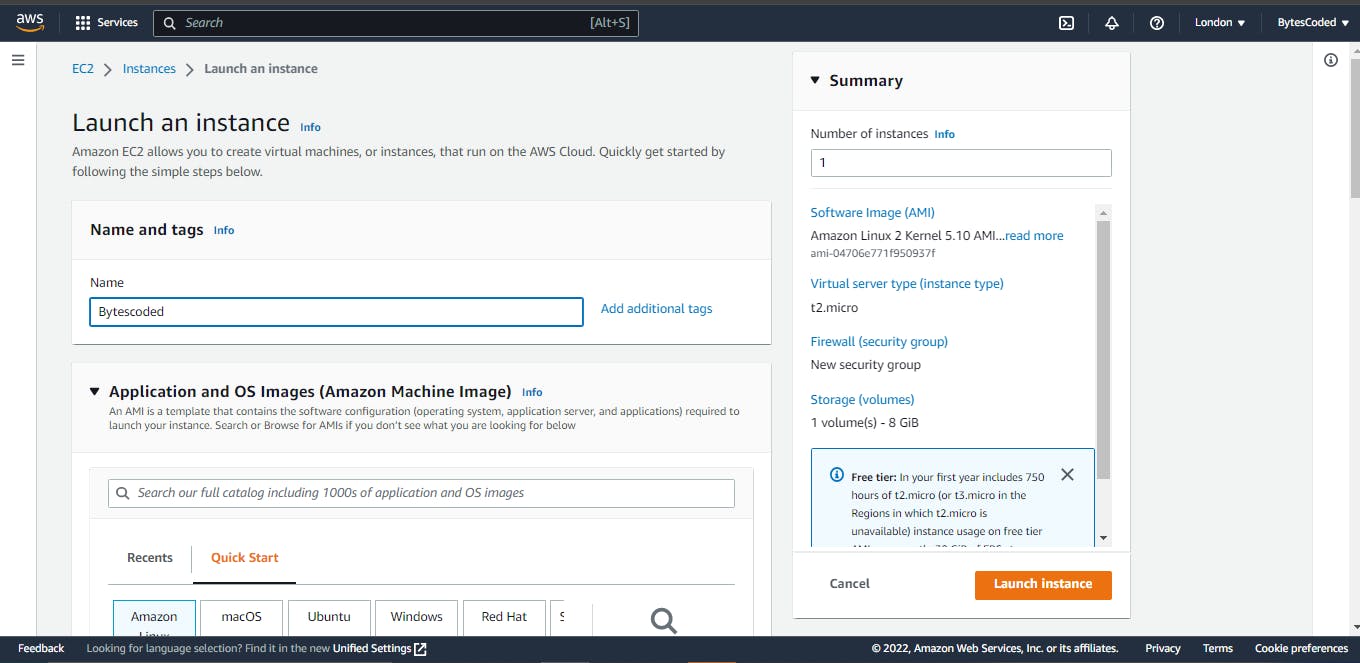 Instance Image 1
You can type in any name of your choice
Instance Image 1
You can type in any name of your choice
The second step is to select the Application and OS Images AMI (Amazon Machine Image) that you want your instance to run on
for this article, I chose Amazon Linux
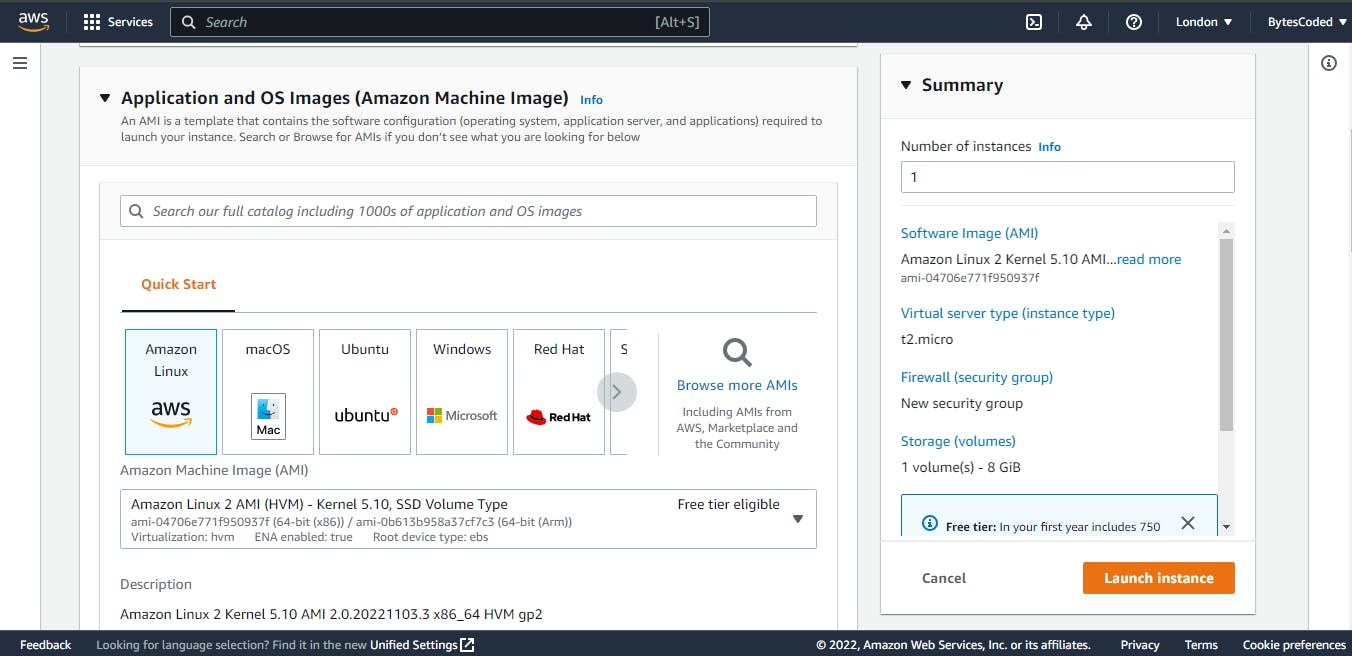
Instance Image 2
the third step is to choose the instance type with t2.micro
N.B: Please, select the Free tier eligible as you won’t be charged for any instance running in your AWS (Amazon Web Service)
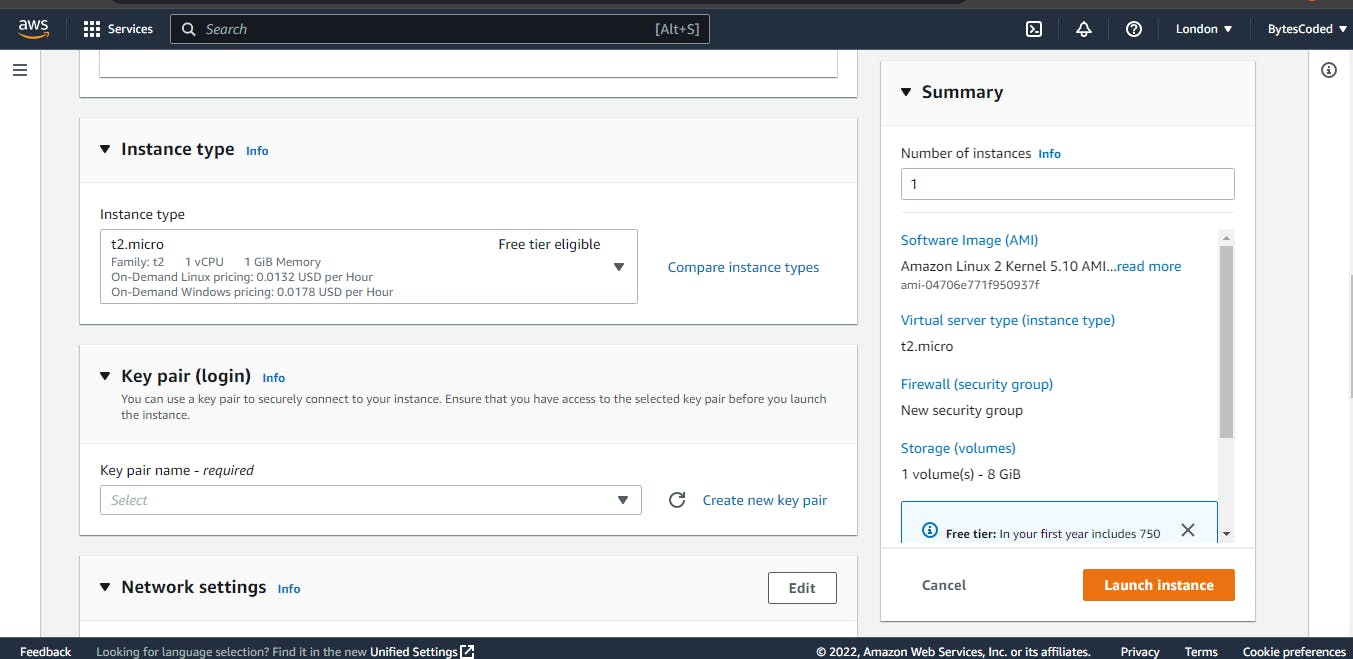
Instance Image 3
Followed by Creating a new key pair, I already created a Key pair for this instance. I recommend always using CamelCase for your key pair. then click on Create Key pair which will download the key pair to your system
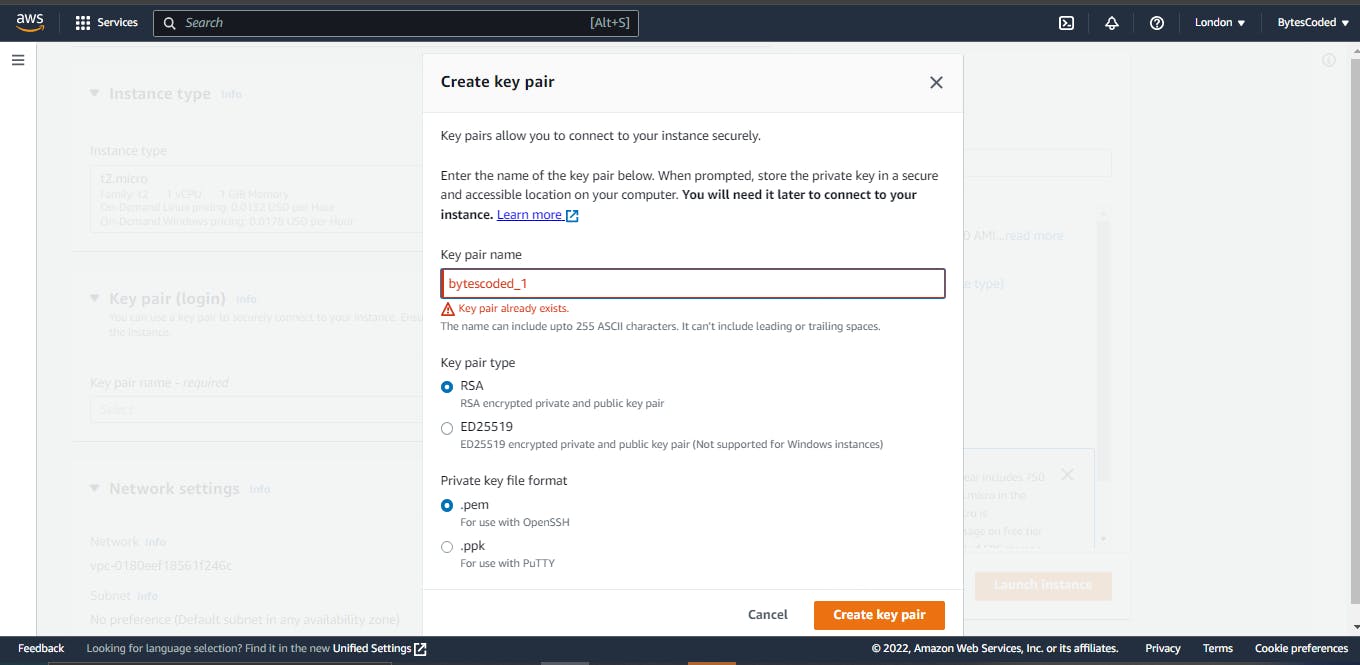
Instance Image 4
You can follow this link to read more about CamelCase
In the next section which is the Network settings
Select the default VPC, then choose the AZ (Availability Zone) available to you in the Subnet dropdown
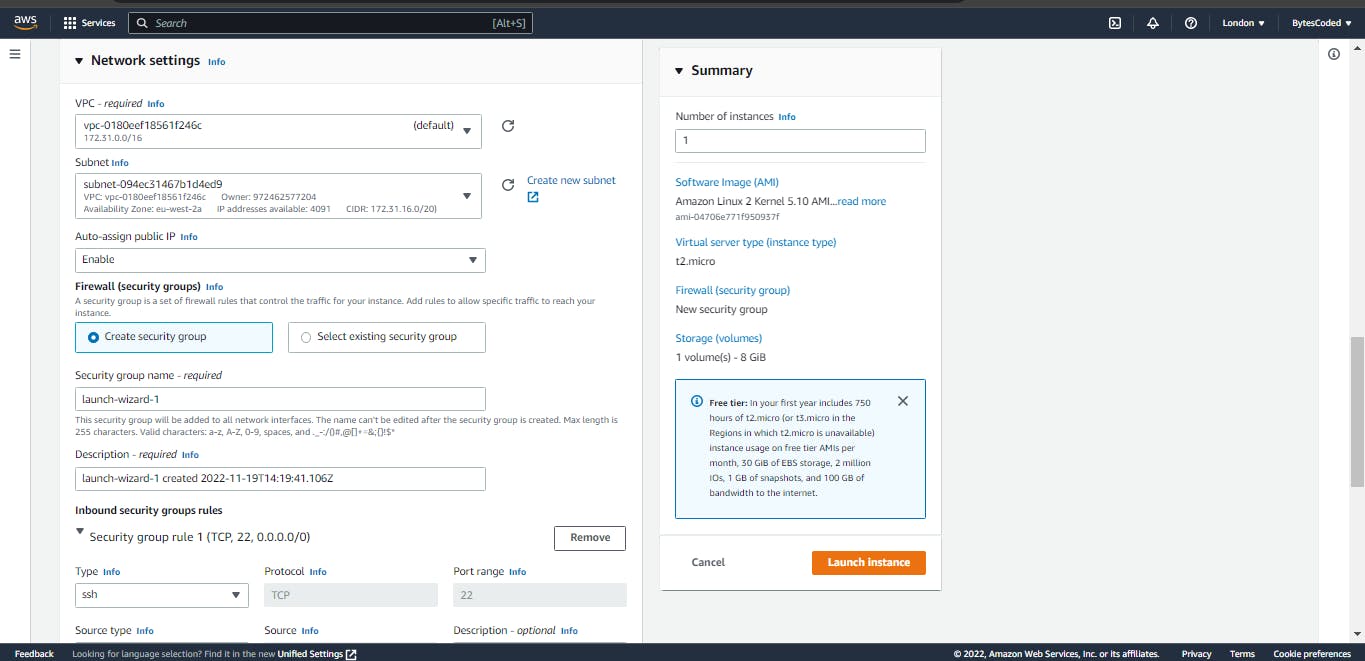
Instance Image 5
Now, the firewall (security groups) is very essential to ssh into our instance
select create Security group and check the box that says Allow HTTP traffic from the internet below is an image
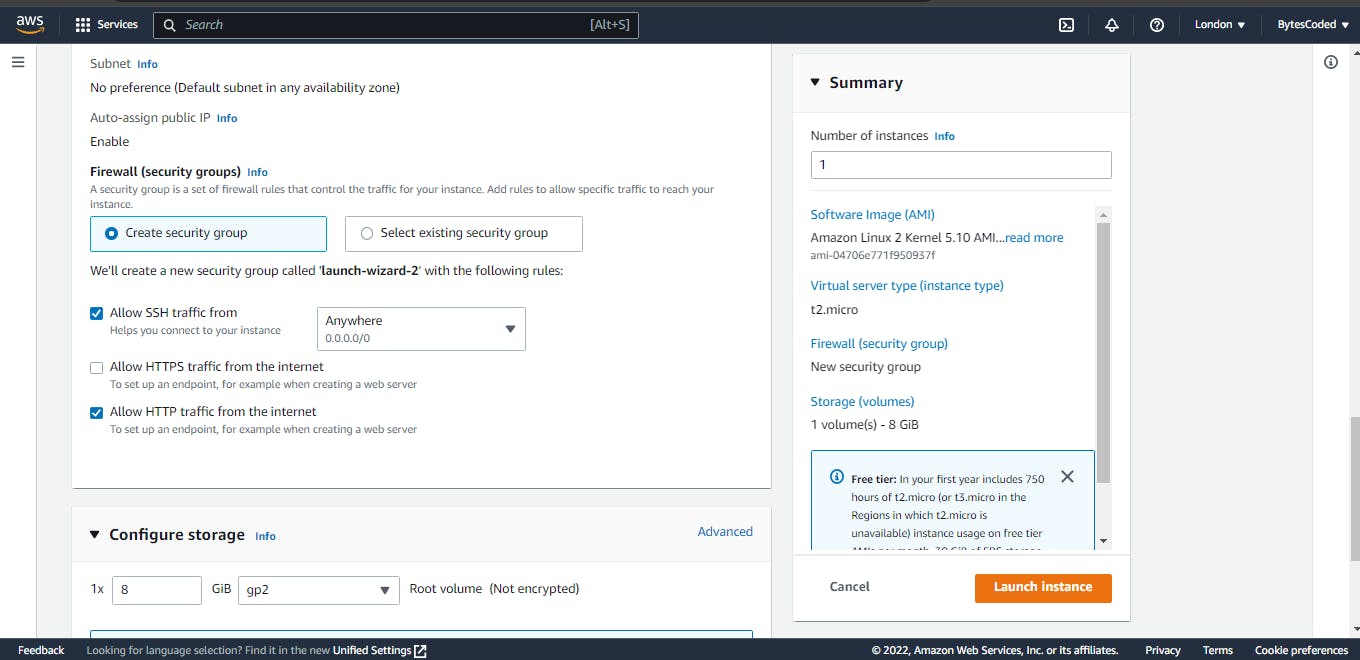
Instance Image 6
Then the next option will be to add another Security group rule by clicking on the edit option at the front of the network settings

Instance Image 7
after clicking on the edit option, add the following rule.
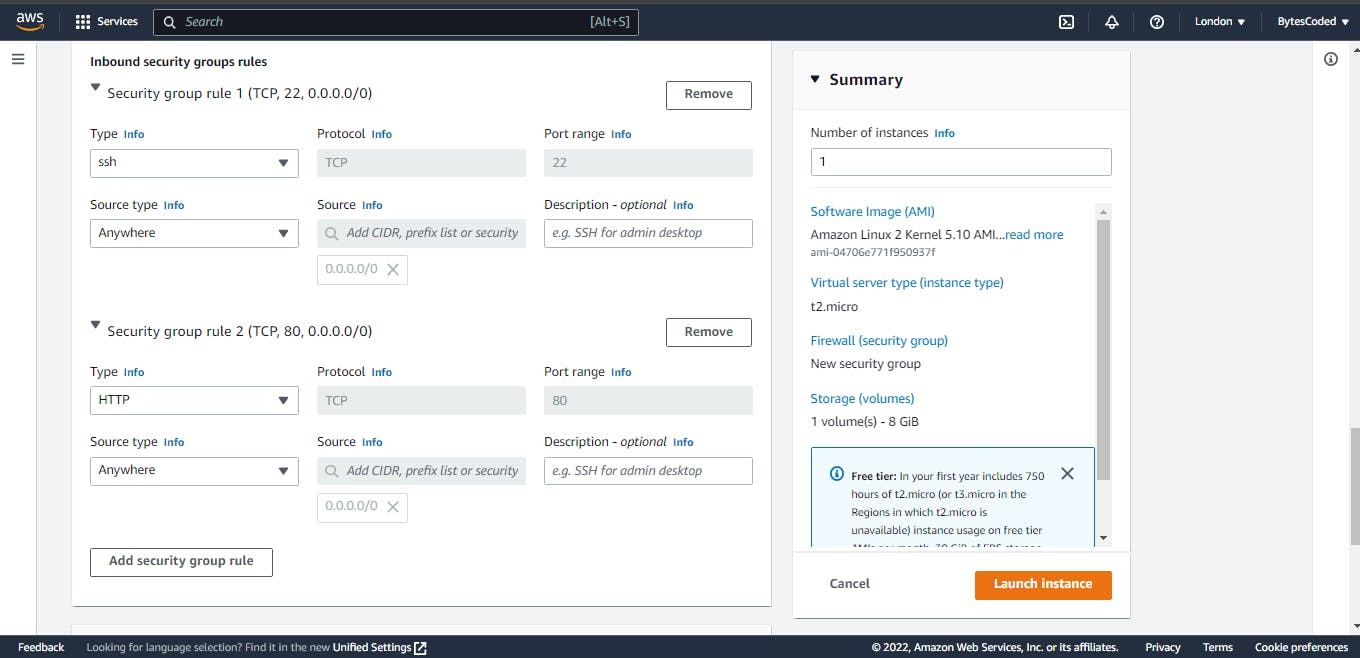
Instance Image 8
After which you click on Launch instance
Make sure your instance state is Running and your status check is 2/2checks passed
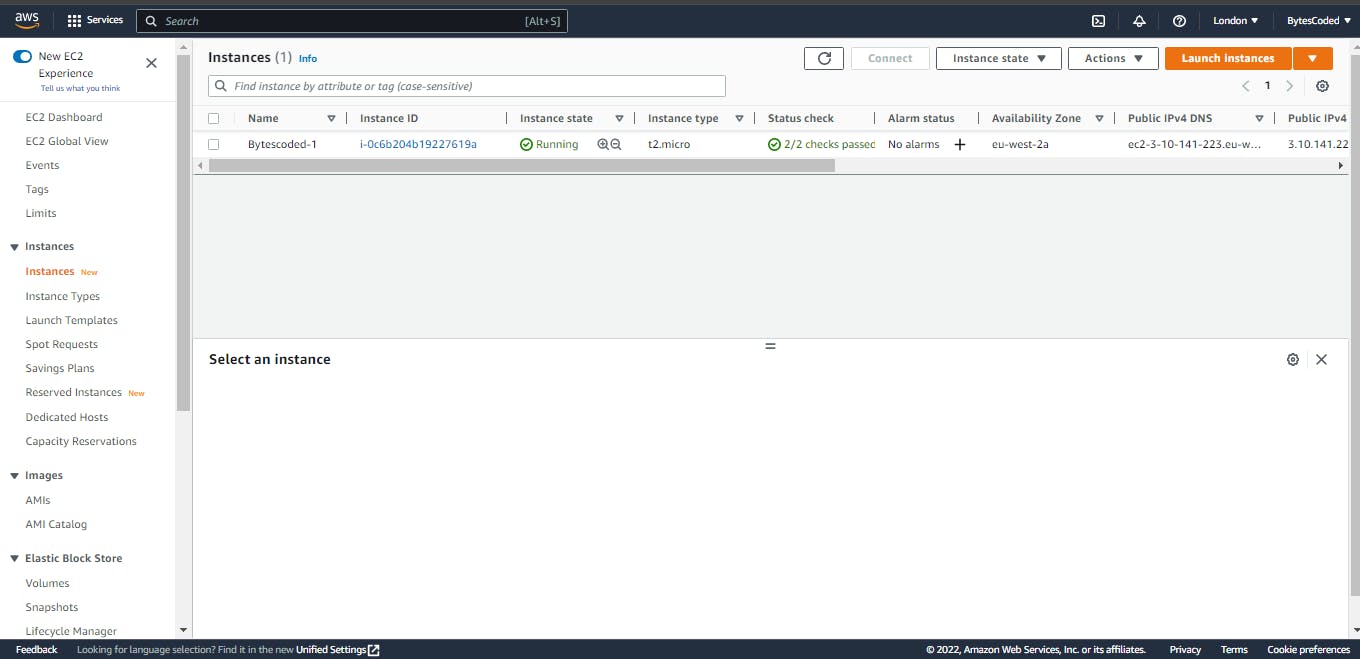
Instance Image 9
Now to SSH into our instance click on the Instance ID which will bring you to this page
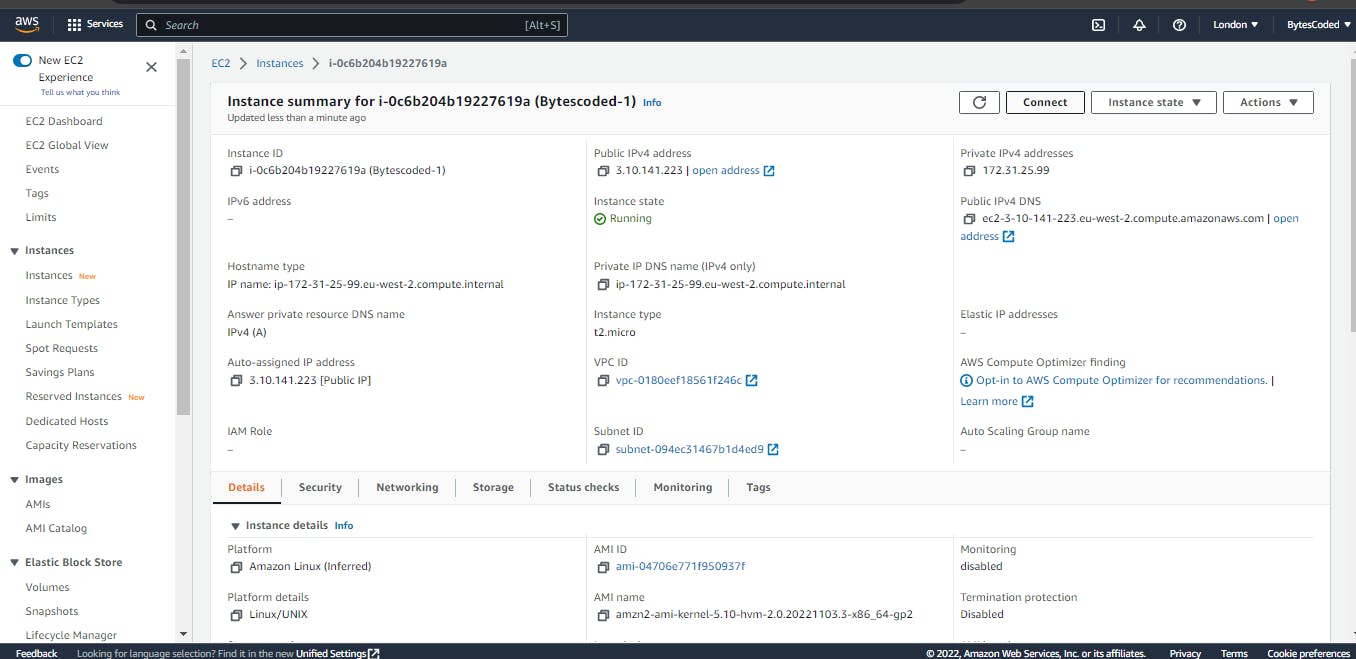
Instance Image 10
Click on Connect > then select SSH client
N.B: We will be using the instance Public DNS
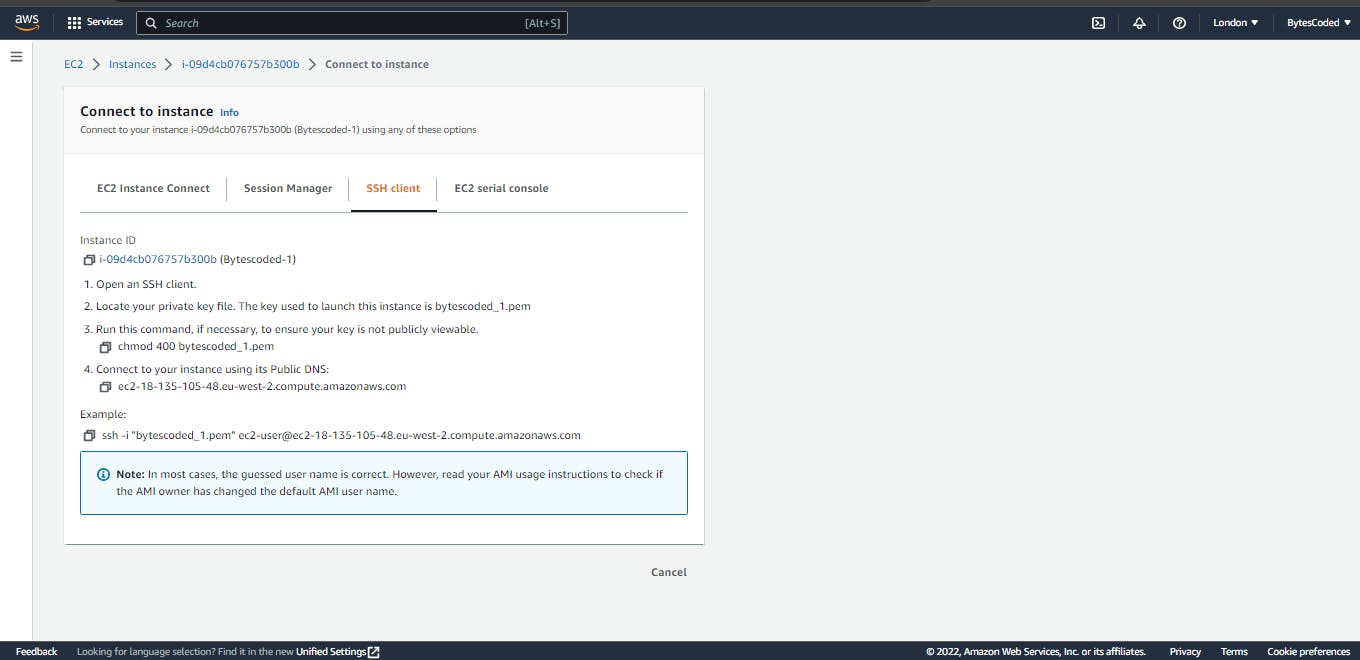
Instance Image 11
Now from here on open Windows PowerShell
Below are the steps needed to follow
Now from your Windows PowerShell CLI change the directory to wherever your Key was downloaded to and type in the following command
- The name of your key
- Then type in ec2-user@
- Then paste in your Instance public DNS
ssh -i .\bytescoded_1.pem ec2-user@ec2-18-135-105-48.eu-west-2.compute.amazonaws.com
After which a prompt question will come up
“Are you sure you want to continue connecting (yes/no)”
Type in yes in full then you should see this on your Windows PowerShell CLI
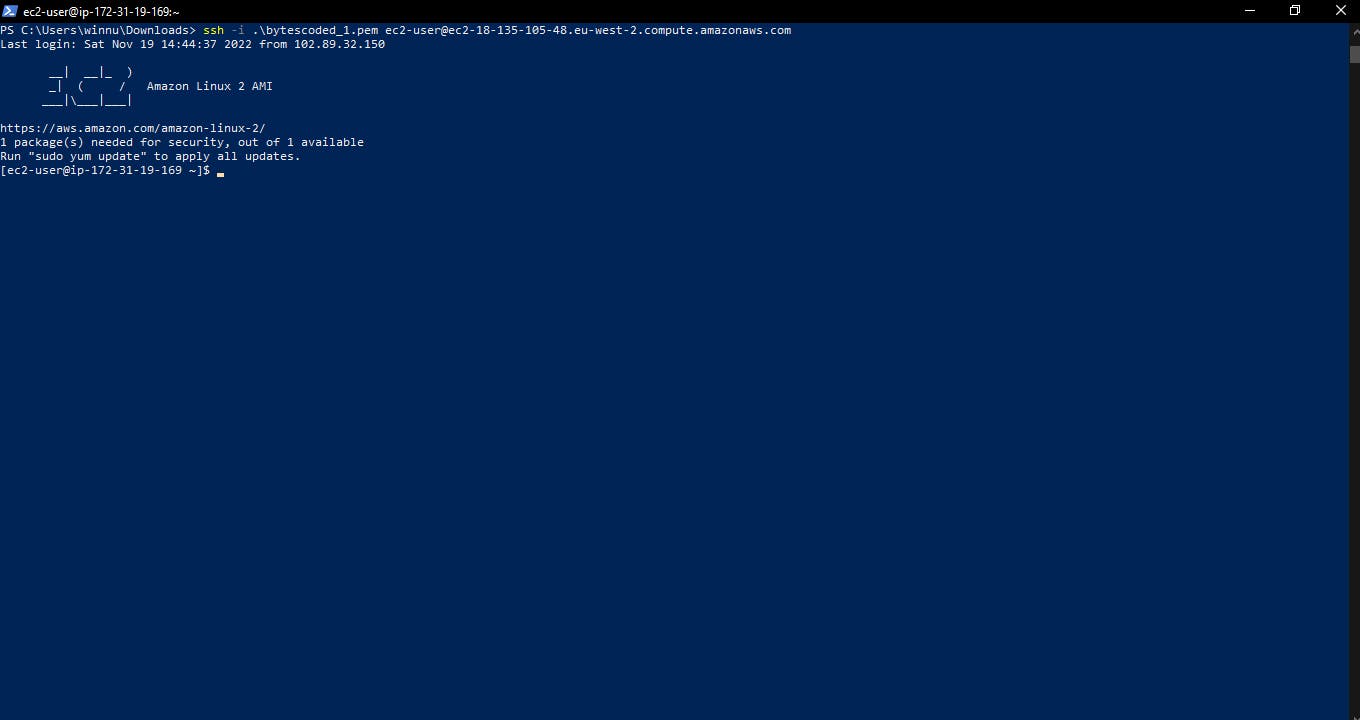
Instance Image 12
The same goes as well for Git Bash
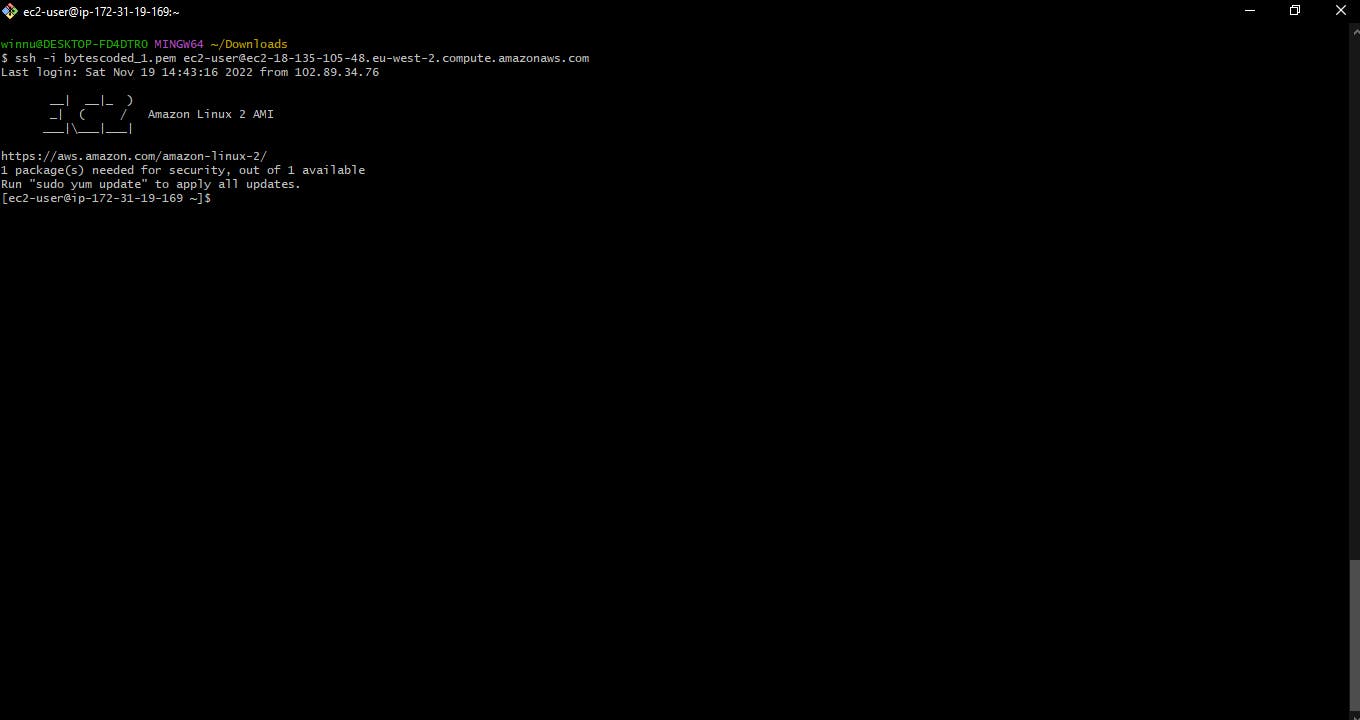
Instance Image 13
Eureka and there you have it
Please, do let me know if this was helpful. I will be sharing more tips regarding AWS and Azure do well to follow
In my next article, I will share with us how to install an Apache server to our EC2 instance
To know more about accessing instances
Follow this link from AWS Docs AWS